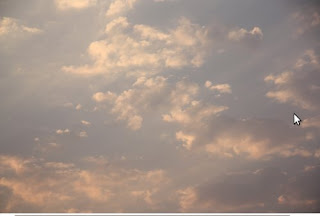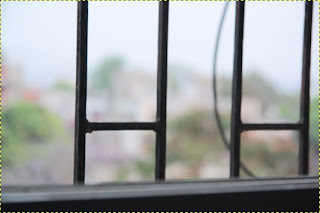

After seeing the images, it struck me that the combination was almost an invitation to try some simple but cool photoshop techniques on. So, the aim was to replace the blurred background of the window, with the sky; i.e. as if the evening sky was captured from the window (with small aperture setting). Here is what I achieved finally -
Pretty cool huh? If you are new to photoshop techniques, I am sure, it impressed you. ;)
And this was done using what? Some costly softwares like Photoshop? Nah! It was all an open-source affair.
Removed the SD card from camera. Inserted into my laptop, which is running Ubuntu Jaunty 9.04. Imported the card contents on my laptop using F-Spot photo manager (used like photoshop-bridge software). Opened the chosen images from F-Spot, into GIMP - another super-powerful opensource software which gives photoshop a run for it's money. That too for free!!
Here is how I achieved the final result -
- Open window.jpg in GIMP (through F-Spot photo manager, which has thumbnails of all recently imported photos)
- Create a duplicate layer from the window layer, and bring the duplicate layer in the front. Let's call it a maskImage.
- De-saturate the maskImage layer (Colors->Desaturate) and apply threshold transformation (Colors->Threshold)
- Adjust the threshold such that you get an outline of the black window-bars. Use the eraser to rub out unwanted black spots from the image.
- The final maskImage looked something like this -

- Then drag the sky.jpg image from F-Spot photo manager, and drop it on GIMP window. GIMP will add it as a new layer. Let's call it a sky-layer.
- Right click this new sky layer, and click Add Layer Mask. Keep the mask fully opaque (white).
- Now go to the maskImage layer and select all of the image (Select->All). Copy it (Edit->Copy)
- Select the layer-mask added the sky layer. There should be a white box around the layer-mask.
- Paste the selected maskImage (Edit->Paste)
- It will show up as floating paste layer. Now go to Layer menu and select Anchor Layer option.
- If everything works fine, the layer-mask of sky-layer will now have the maskImage as it's contents.
- Now make maskImage layer invisible, and keep rest of the two layers (sky-layer and window-layer) visible.
- Make sure sky-layer is on top of window-layer.
- And that's it! Now go back and check the final-image above, once again. Sweet fruit all these efforts!
So kudos again for all those freedom-loving wizards taking efforts to create awesome tools like GIMP which are an amazing replacement for as costly a software as Photoshop.
Really difficult to imagine a life without opensource.
[Reference: How to use an image/layer as a layer-mask]


1 comment:
likes!
Post a Comment